The restaurant industry has undergone a digital transformation, with QR code menus becoming standard practice worldwide. What began as a pandemic necessity has evolved into a customer expectation. This comprehensive guide will help restaurant owners implement QR code menus that enhance—rather than hinder—the dining experience.
The Rise of QR Code Menus
According to the National Restaurant Association, 61% of diners now prefer digital menus, and 57% are more likely to visit restaurants that offer QR code ordering. The benefits extend beyond hygiene:
- Cost savings - No more reprinting for price changes
- Real-time updates - Add specials instantly
- Reduced wait times - Guests browse while staff are busy
- Upselling opportunities - Add photos, descriptions, and recommendations
- Environmental impact - Reduce paper waste
Planning Your QR Code Menu System
Step 1: Choose Your Menu Format
Option A: PDF Menu
- Pros: Simple, familiar format, works offline once loaded
- Cons: Not mobile-optimized, can't track item views, harder to update
- Best for: Small establishments with stable menus
Option B: Mobile-Optimized Web Page
- Pros: Beautiful design, easy navigation, analytics available
- Cons: Requires internet, needs development
- Best for: Restaurants wanting branded experience
Option C: Ordering Platform Integration
- Pros: Integrated ordering, payment processing, kitchen integration
- Cons: Platform fees, less control
- Best for: Quick-service and high-volume restaurants
Option D: Hybrid Approach
- Combine digital menu with optional ordering
- Give customers choice
- Best for: Full-service restaurants
Step 2: Design Your Digital Menu
Effective digital menus follow specific design principles:
Navigation
- Clear category organization
- Sticky navigation for easy browsing
- Search functionality for larger menus
- Filter options (vegetarian, gluten-free, etc.)
Visual Hierarchy
- Featured items prominently displayed
- Chef's recommendations highlighted
- Price formatting consistent
- Clear section breaks
Content
- High-quality food photography
- Appetizing descriptions
- Ingredient lists for allergies
- Portion size information
Accessibility
- Readable font sizes (16px+ for body)
- High contrast colors
- Alt text for images
- Screen reader compatibility
Step 3: Create and Deploy QR Codes
Placement Strategy
Table Placement Options:
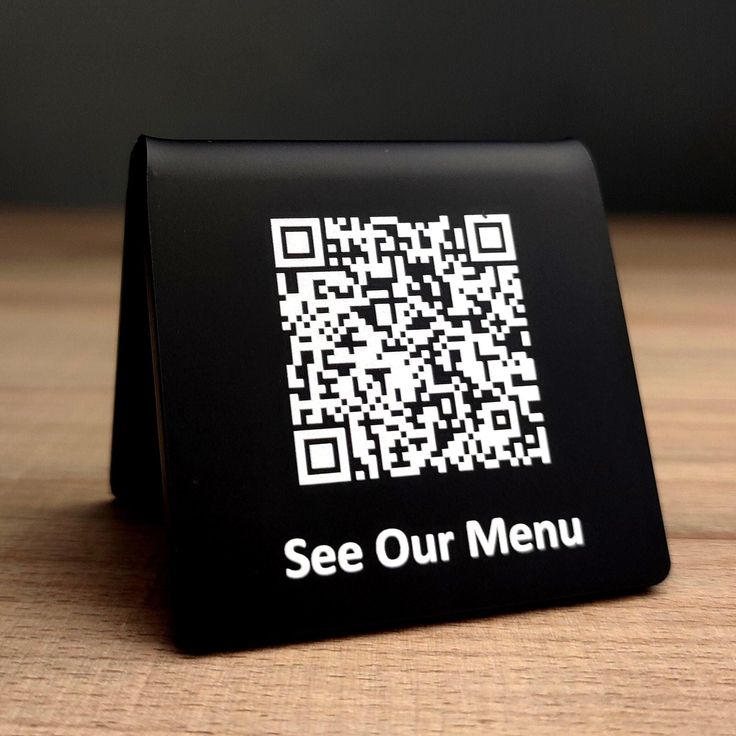
- Table tents (most common)
- Stickers on table surface
- Integrated into table design
- Menu stands
Additional Locations:
- Window displays for passersby
- Waiting area for early browsing
- Restroom areas
- Host stand for takeout
Sizing Guidelines
- Minimum: 2cm x 2cm (for close viewing)
- Table tents: 4-5cm x 4-5cm (optimal)
- Signage: 10cm+ (for distance scanning)
Design Considerations
- Include your logo for brand recognition
- Add clear "Scan for Menu" text
- Use colors that match your branding
- Ensure adequate contrast
Creating an Excellent Customer Experience
For Tech-Comfortable Guests
Make the digital experience seamless:
- Fast loading - Under 3 seconds, even on slow connections
- No downloads required - Browser-based only
- Clear instructions - Brief on-screen guidance
- Easy navigation - Intuitive category structure
- Quick access to essentials - Prices, descriptions, allergens
For Tech-Hesitant Guests
Always provide alternatives:
- Physical menus on request - Never force digital
- Staff assistance - Train team to help with scanning
- Large print options - Accessibility matters
- Verbal descriptions - Old-school service still wins
The First 10 Seconds
When a guest scans your QR code, those first moments matter:
- ✅ Menu loads immediately
- ✅ Restaurant branding visible
- ✅ Easy to start browsing
- ✅ Categories clearly visible
- ❌ Slow loading screen
- ❌ Confusing navigation
- ❌ Requests for app download
- ❌ Pop-ups or advertisements
Optimizing Your QR Code Menu
Track These Metrics
Using QR Geek's analytics, monitor:
- Scan rate - What percentage of tables scan?
- Time on menu - How long do guests browse?
- Popular categories - What gets the most views?
- Peak times - When do scans happen?
- Device breakdown - iOS vs. Android optimization
A/B Testing Opportunities
Test and optimize:
- Different QR code placements
- Various CTA messages
- Menu layout and organization
- Photo vs. no photo formats
- Description lengths
Continuous Improvement
Regular menu maintenance:
- Update prices immediately when they change
- Add seasonal items and remove expired ones
- Refresh photos periodically
- Add new dietary information
- Update hours and contact info
Advanced Features to Consider
Interactive Elements
Enhance the dining experience:
- Wine pairing suggestions - Recommendation engine
- Ingredient sourcing - Farm-to-table storytelling
- Chef videos - Behind-the-scenes content
- Loyalty integration - Points and rewards
- Social sharing - Instagram-worthy moments
Multilingual Support
For diverse clientele:
- Automatic language detection
- Easy language switching
- Professional translations
- Cultural menu adaptations
Ordering and Payment
If implementing ordering:
- Clear order summary
- Easy modifications
- Secure payment processing
- Order status updates
- Receipt delivery options
Troubleshooting Common Issues
"The QR Code Won't Scan"
Causes:
- QR code too small
- Poor lighting conditions
- Damaged or dirty code
- Low phone camera quality
Solutions:
- Increase code size
- Ensure adequate lighting
- Replace damaged codes promptly
- Test across device types
"The Menu Loads Slowly"
Causes:
- Large image files
- Poor hosting
- Heavy website code
- Weak WiFi
Solutions:
- Optimize images
- Use reliable hosting
- Streamline page code
- Ensure strong WiFi coverage
"Guests Prefer Physical Menus"
Causes:
- Poor digital experience
- Uncomfortable with technology
- Habit and preference
Solutions:
- Improve digital menu design
- Always offer physical option
- Train staff to assist
- Don't force digital-only
Case Study: How One Restaurant Increased Sales 23%
A mid-sized Italian restaurant implemented QR code menus with these results:
The Setup
- Dynamic QR codes at each table
- Mobile-optimized menu with photos
- Integration with existing POS
The Strategy
- High-quality photos of signature dishes
- "Chef's Favorites" section highlighted
- Suggested pairings for each entrée
- Easy add-on selections
The Results (After 3 Months)
- 23% increase in average check size
- 15% more appetizer orders
- 31% increase in dessert orders
- Saved $400/month on menu printing
- 4.2x faster menu updates
Key Takeaways
- Photos sell food—invest in quality
- Suggestions drive upsells
- Easy ordering reduces friction
- Data reveals opportunities
Implementation Checklist
Pre-Launch
- Choose menu format (PDF, web page, platform)
- Design mobile-optimized menu
- Create high-quality food photos
- Write compelling descriptions
- Test on multiple devices
- Create QR codes with clear CTAs
- Design and order table materials
- Train staff on system
Launch Day
- Place QR codes at all tables
- Brief staff on customer assistance
- Have physical menus ready as backup
- Monitor for technical issues
- Gather initial customer feedback
Ongoing
- Review analytics weekly
- Update menu items as needed
- Refresh seasonal content
- Test new features
- Gather and act on feedback
- Replace worn QR materials
Conclusion
QR code menus are no longer optional—they're expected. But implementation quality separates restaurants that frustrate diners from those that delight them.
Focus on the fundamentals: fast loading, easy navigation, beautiful presentation, and always-available alternatives for those who prefer traditional menus. Use analytics to continuously improve, and remember that the goal is enhancing the dining experience, not replacing human service.
Create your restaurant's QR code menu with QR Geek and start delivering a modern dining experience today.
